The FIS software pack can be downloaded from the Data Service website. When this software has been installed, you can import the output file you have produced in EBS to check for any validation errors you may have with your data and then import this back into EBS to be used in the error surfer functionality.
To open the FIS, select the FIS icon on the desktop.
The FIS will check to see if there are any updates to the Data Sets. This can be skipped but it is recommended you use the most up-to-date data sets. Select the Select All button to select all data sets and then the Update Selected button to download the latest data sets.

When all updates have been downloaded, the FIS will be ready to use:
If this is your first time using the FIS, you will need to set the data provider.
-
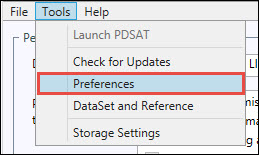
Select the Tools menu and select Preferences .
-
Select the Select button in the Data Provider group.

-
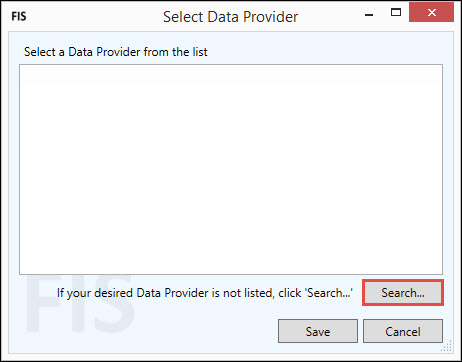
Select the Search button in the Select Data Provider window.
-
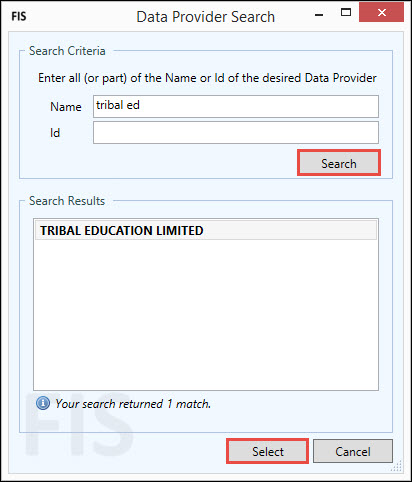
Search for your college or learning institution by either name or ID and select the Search button. Select the Select button when you have found your institution.
-
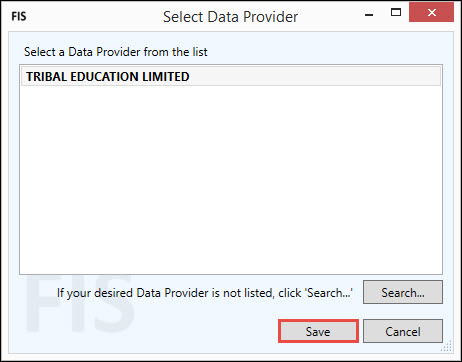
Select the Save button on the next window to confirm the data provider.
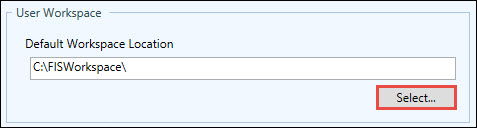
You will also need to set the location where the files will be saved. By default it will try to save your file to the location C:\FISWorkspace\ on your machine. To change this select the Select… button in the User Workspace section of the screen and select a folder where your files will output to.
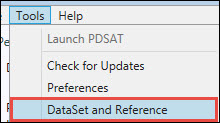
The next stage is to select the dataset you want to validate records against. This is accessed by selecting the Tools button and selecting theDataSet and Reference option.
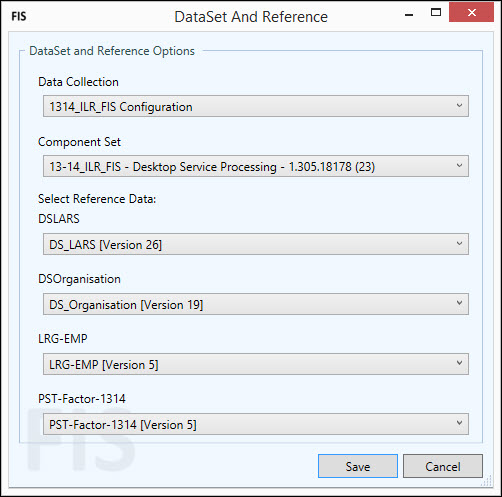
You can select from four data sets:
- DSLARS
- The Learning Aims Data Set
- DSOrganisation
- Data Set with the colleges and training providers
- LRG-EMP
- Data Set for large employers
- PST-Factor
- Data Set for disadvantage postcode factors
The most up-to-date Data Sets will be selected but you can change these to an older Data Set if you need to.
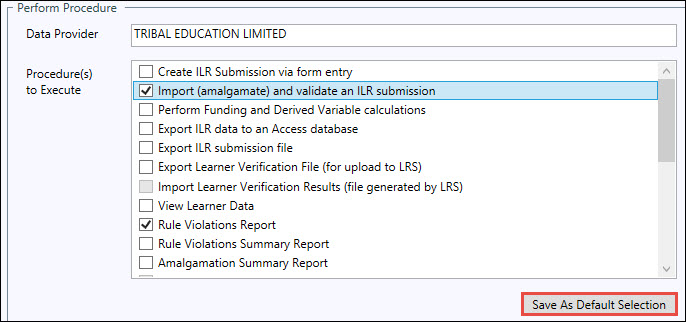
The FIS comes with a large list of different procedures that can be executed. For the ILR validation there are two of three options to tick in the Procedures(s) to Execute check box:
- Import, (amalgamate) and validate an ILR submission
And one of the following:
- Rule Violations Summary Report
- Rule Violations Report

The Rule Violations will display any errors that are found in the Output file from EBS and display them in a report.
You can select the Save As Default Selection button to set the selected Procedures as the default.
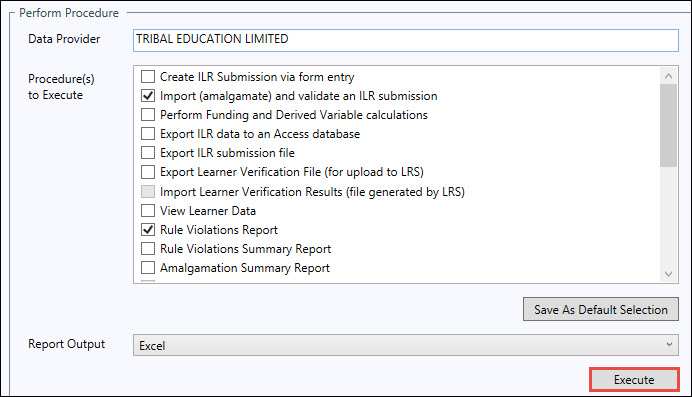
The Report Output drop-down allows you to select how you want the Rule Violation reports to be displayed.

You can select from:
- Display – Displays the report in the FIS program
- Excel – Exports to an xls file. This option must be selected if you want to import the errors into EBS
- PDF – Exports to a pdf file
To start the validation process, select the Execute button.
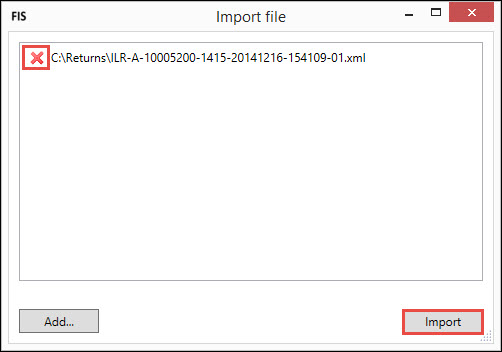
The Executing window will open and start the process. You will be shown another window and be asked to add the file you want to import. Select the Add button and search for your EBS ILR output xml file.

After selecting your xml file, it will display in the Import file window. If a mistake has been made, the file can be removed by selecting the X button next to the file. Select the Import button to start validating.
Progress of the import can be followed in the progress section of the screen.
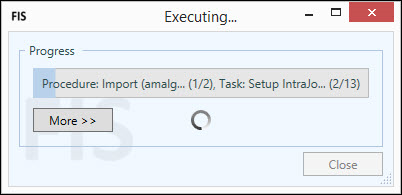
The file will be saved to the default user workspace set in preferences.